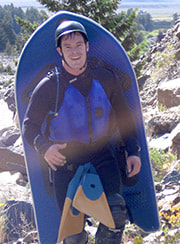
 Riverboard at your own risk. Riverboard on a board you make with these directions on double your own risk. I first tried riverboarding in Eugene, Oregon while I was in law school. I convinced the local rafting company to let me rent one of the Carlson Riverboards they used for river rescue classes. I was hooked after my first 100 yards of whitewater. A few weeks later, I placed an order for a hardshell riverboard and used it on the Boulder River about half an hour from my hometown of Helena, Montana. I became obsessed with the sport. I followed every post of Josh Galt's on the Facelevel.com website. Eventually, I had my own inflatable board design and started a company, Mean Monkey Sports, LLC. I switched to making solid boards after this ridiculous trip down the freezing Madison River with Josh Galt in the middle of a Montana winter. My days of selling riverboards through Mean Monkey sports were interrupted by a combination of having kids and needing a job that would be able to support those kids. At one time, I posted instruction on Mean Monkey's website about how to make-your-own riverboards based on conversations I had with Josh Galt around 2010 and then my experience making them afterwards. Enough people have asked me for those instructions that I'm reposting them again. The field has changed dramatically in the past ten years, so all I can tell you is this is how we were making them then. First, do not make your own riverboard. This is an amazing time to be a riverboarder and there are some great boards to buy from some great companies that are really advancing the sport forward. Here are a few of them: * Earth Veins * Anvil by Fluid Kayaks * Kern Riverboards * Appalachian Riverboards You might save money by building your own board, but more likely you'll need to make a few to get good at it, get good seals on your foam, etc. That will cost you more than if you just bought a board in the first place. You should only do this if you want a unique board and are willing to spend some money and make some mistakes in the building process. Here are the instructions, if you refuse to listen to me and decide to build your own board anyway. Please just make really sure to test the board's strength first, then move slowly up to more difficult rivers after you've proven your board won't fall apart. You really don't want to fight out that your Neoprene Cement didn't seal well in the middle of a Class IV river! Hydrospeed-style Riverboard Fabrication Directions Materials * Foam - these directions use 3" thick closed-cell foam. I used L200 Minicel(R) foam from Sweet Composites. I believe it came in planks that were 120" x 27". * Cutting tools - Sweet Composites has great directions on what tools to use to cut and shape this foam. * 3/4" PVC plastic pipe for the handles * Neoprene Glue * Not necessary, but nice - Neoprene for providing traction below the handle area. * Not necessary, but nice - Bike handles for putting on the outside of the PVC pipe Key measurements: * Shoulder width - your elbows should be comfortably under you about shoulder width apart in the riding position Elbow to hand grip - the area between thumb and forefinger to the back of your elbow for determining handle placement * Hips - width at your hips to determine the inner width of the board at that position * Torso height - you want to be able to just see over the tip of the board with it up against your hips. Most male adults will make boards in the 42-48" length range. Personally, I like a smaller board and made mine at 42." Here are some possible measurements you can use as examples for the different layers.
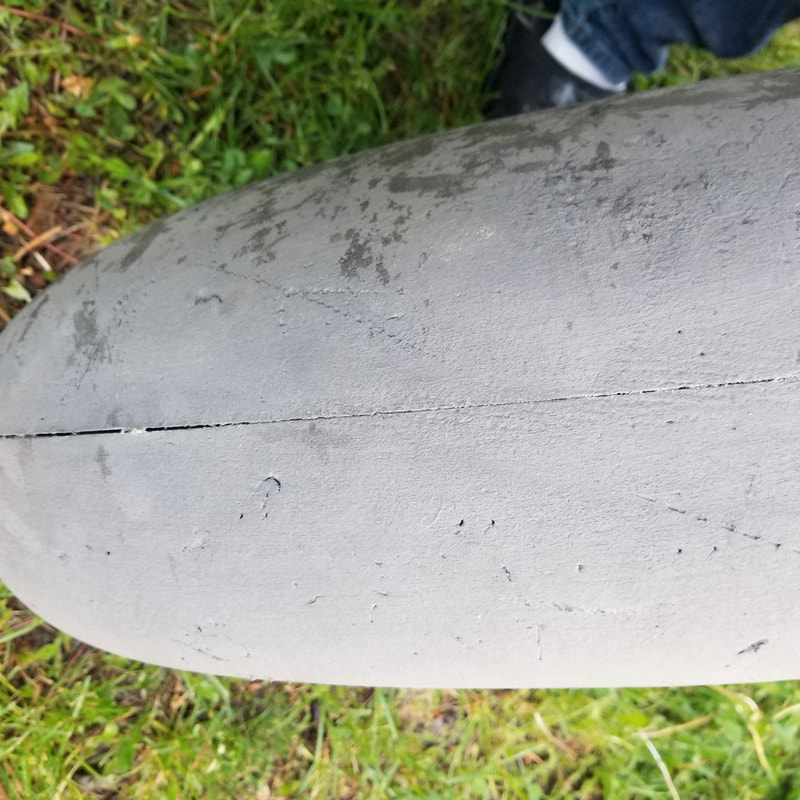
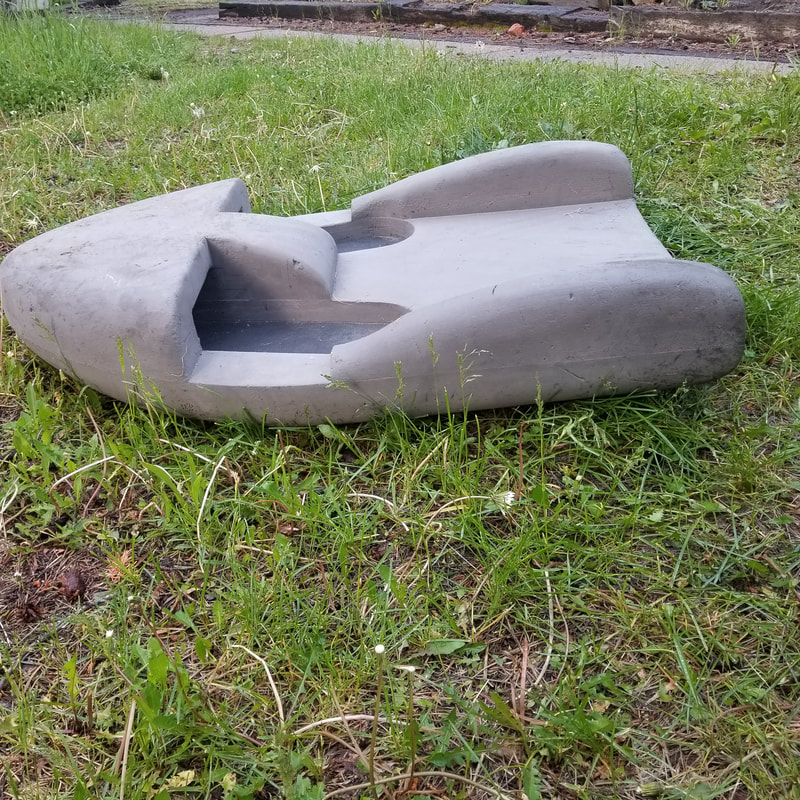
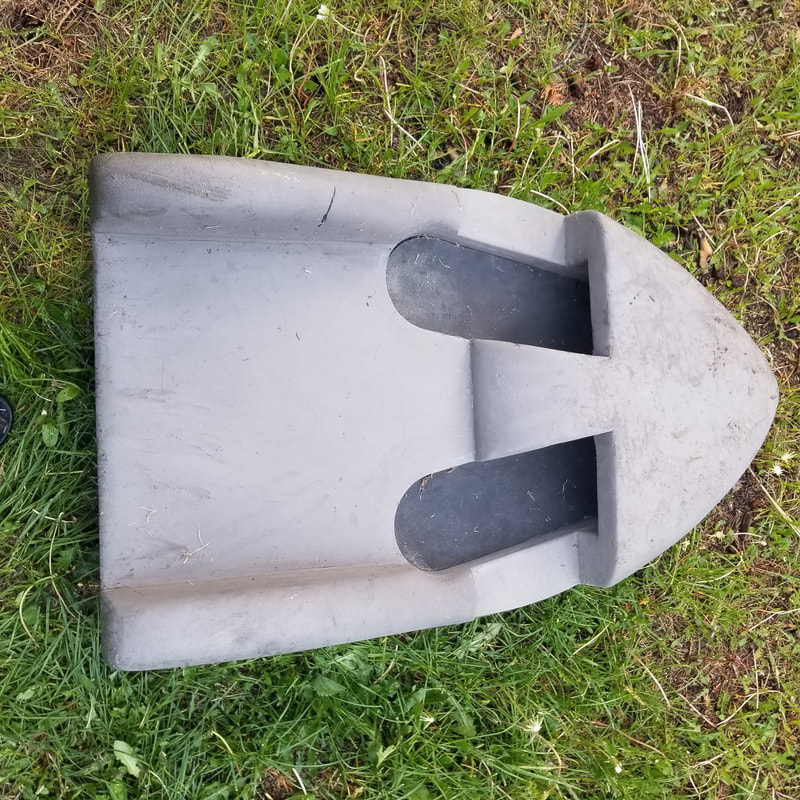
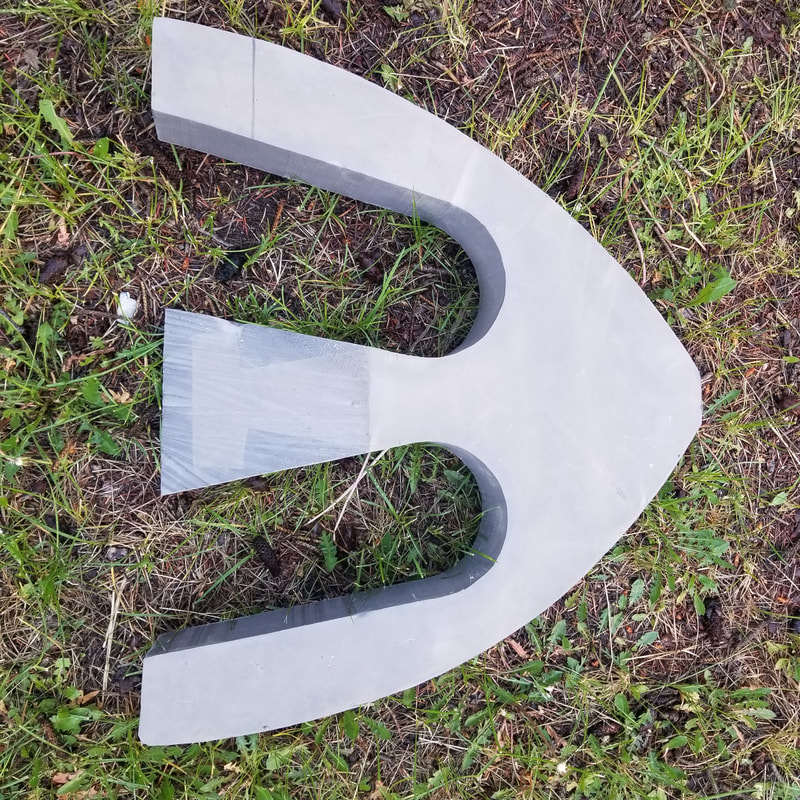
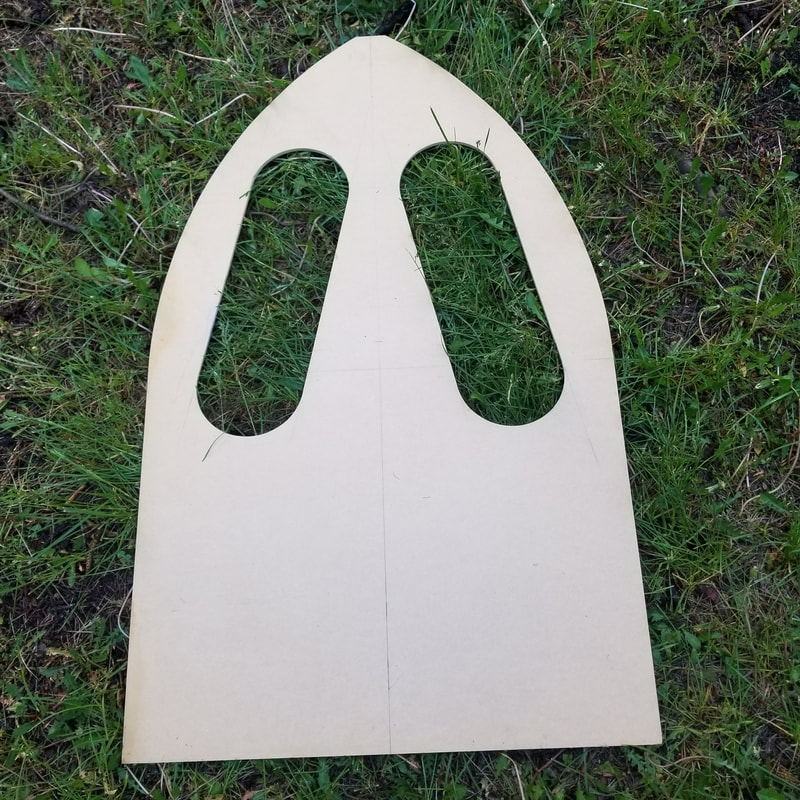
Directions: 1. Cut the foam plank into thirds, so that you have 3 sections of 40x27. Those three triangles are going to be the top, middle and bottom of the riverboard. 2. Make the outer board design, considering the position of the handles and how you will lay on the board. We always made the outer cuts first based upon the position of the handle. We generally had our handles positioned about 9 inches from the front of the board. We had 12 inches between the two handles and about 6 inches from the handles to the outside edges of the board. 2. Cut out the arm holes and body area from the "top" plank. 3. Cut out the hollow arm area and hand area from the "middle" plank 4 No cuts on the bottom one. 5. Drill holes for the handles, which I have used 3/4" plumbing tubing for. You can drill with a smaller bit though, so that it stays tight. If you have a bike grip, place it on the PVC now. 6. The cut out pieces from the arm holes fit really nicely up on top (layer 4, really) on the back sides, and can then be shaped into the back piece on each side. The piece cut out of layer 2 can be cut and used as layer 4 for the nose. - If you decide to use Neoprene on the base of your handle area, you will have to put it in during this step before you glue the layers together. 7. Glue them all together using Neoprene Glue which is a specially formulated Contact Cement. You can use the inner armhole cutout pieces for the extra hip layer, and the hand/arms piece for the nose extra layer. 8. Once it's all glued together, make the outer "pod" shape cut so you have the rounded outer. 9. Sand it until the outer layer is smooth. You should also shape then sand a curved rocker on the bottom (sight curves upward on the front and the back of the board) 10. Painting, covering, etc. - I tried for years to find the perfect cover to protect this foam. I eventually gave up and left my board uncovered. My foam board has held up for years with the exception of a few cuts from going over sharp rocks in shallow creeks. Different Style - I wish I could say I had pictures of us making boards in exactly this style, but we decided to make our boards out of two layers of four-inch planks. It saved money on foam while also having a sleeker board design. I won't give you the full directions, but hopefully you can guess them from looking at the following pictures of that board. Please mention in the comments if you found these instructions helpful or if you tried different variations of design, suppliers, foam, glue, etc. It's a great sport and there's always going to be people that want to do it their own way!
1 Comment
|
AuthorMatt Kuntz Archives
May 2023
Categories |
||||||||

 RSS Feed